Installing Apache Web Server on CentOS 8

Hello colleagues.
In today's article, I will tell you how to install the Apache web server on Centos 8.
You can find the installation of Centos 8 itself on my website.
Currently the latest version of Centos is Centos 8 which is based on Red Hat Enterprise Linux 8 sources. Apache is a free cross-platform web server which is widely used all over the world.
It has many powerful features, including dynamically loaded modules, robust support for various media formats, and integration with other popular software. Apache HTTP Server implements IPv6 support.
The content of the article:
- Installing packages.
- Apache service start.
- Auto start Apache services.
- Firewall setup.
- Verifying that Apache is running.
STEP 1. INSTALL PACKAGES
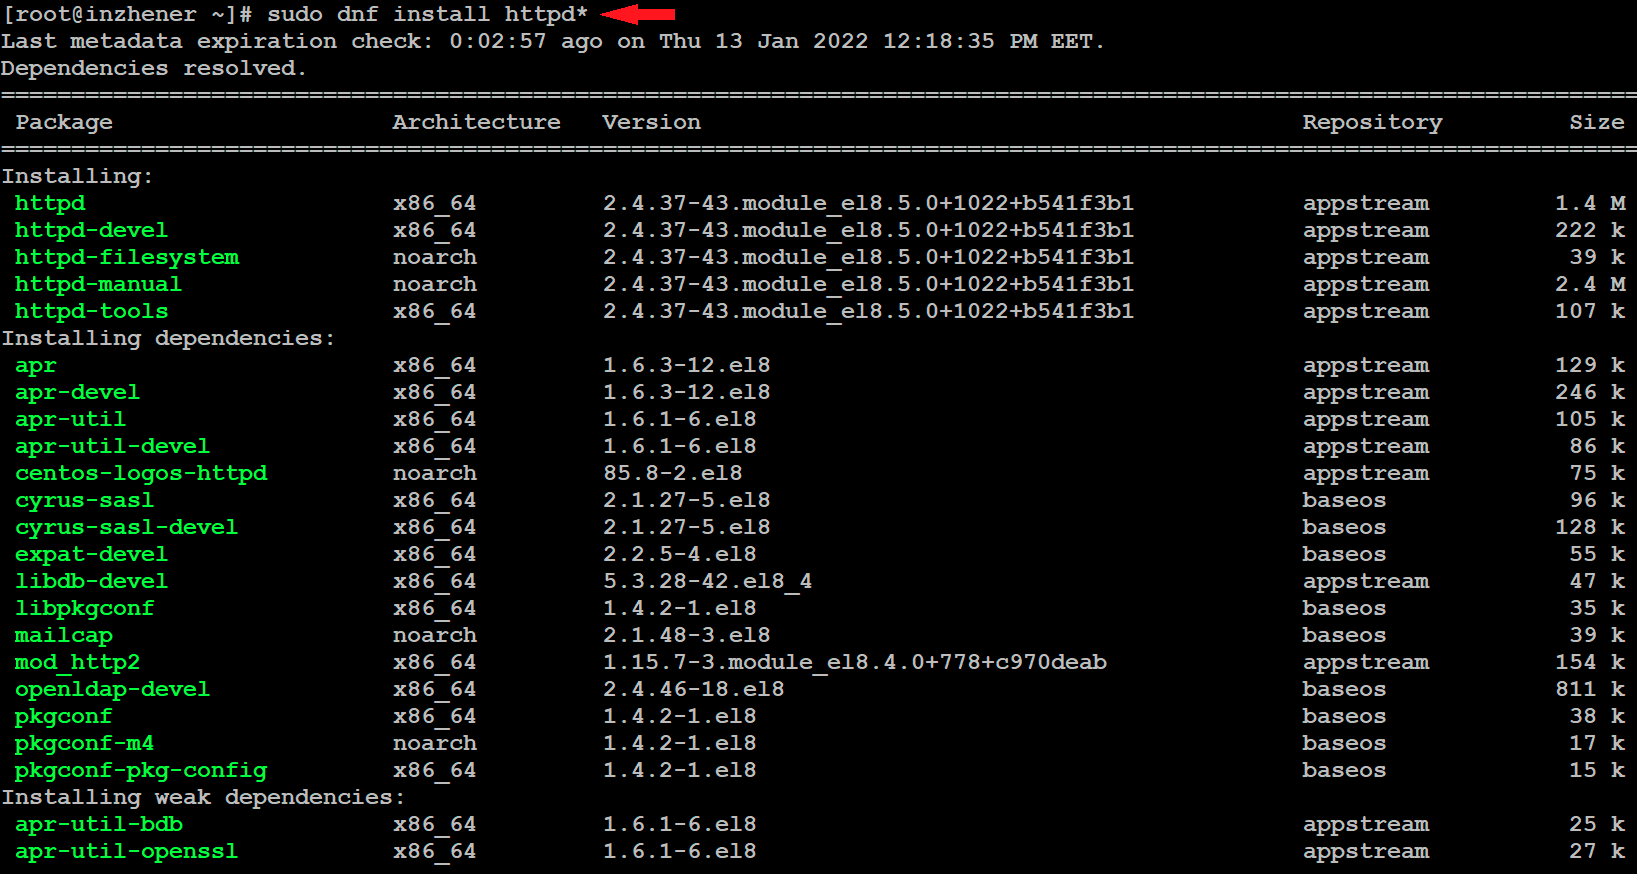
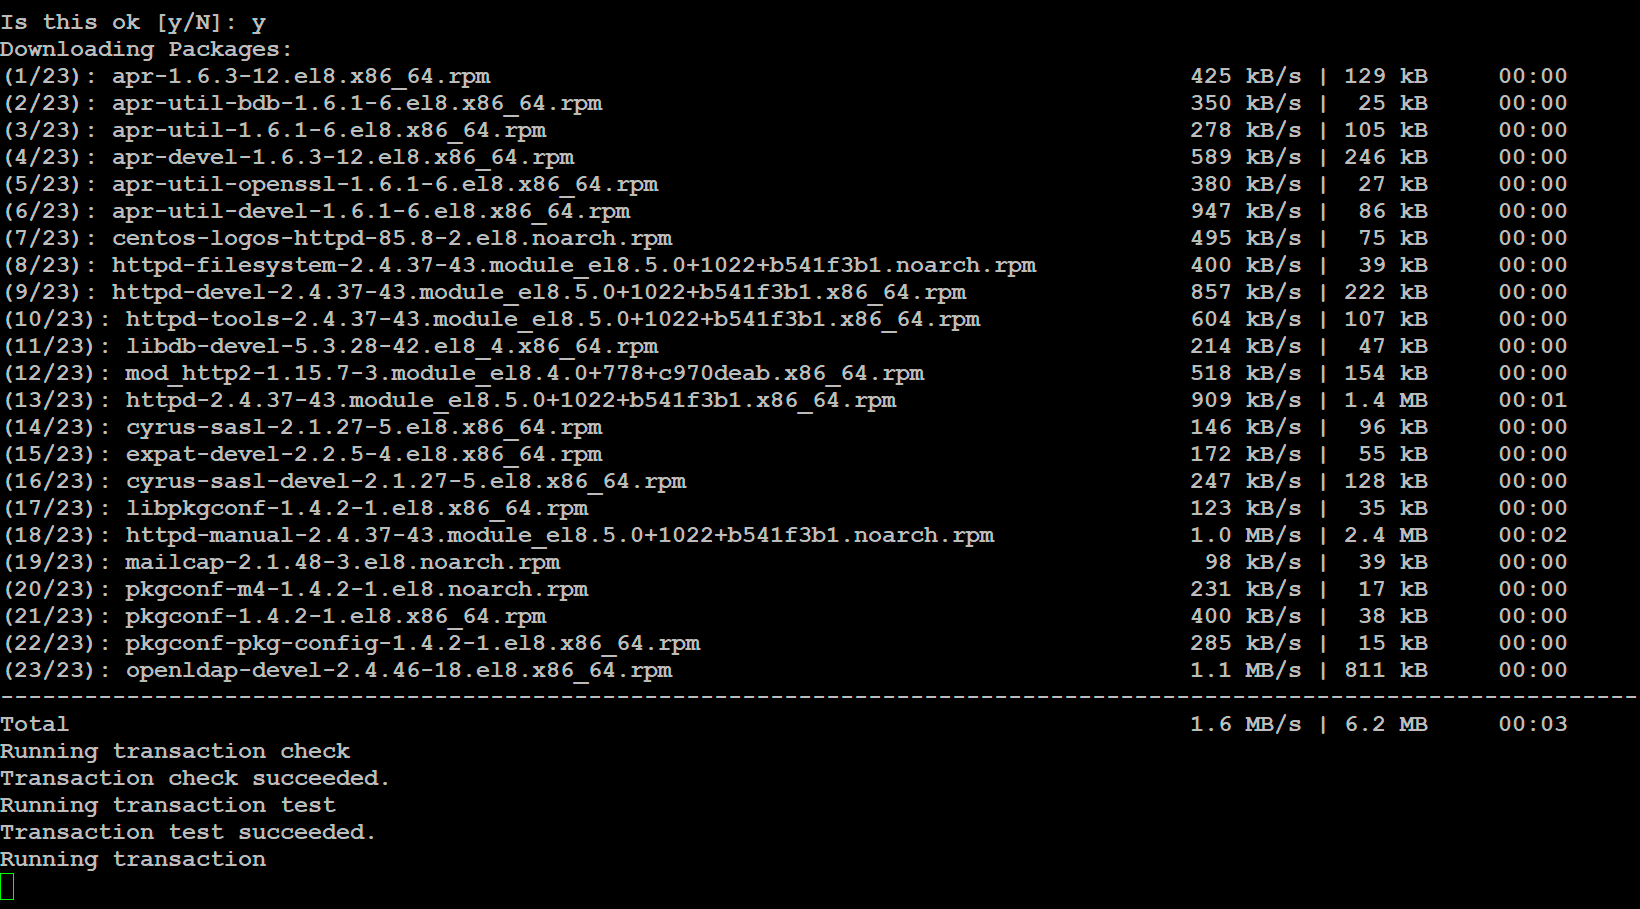
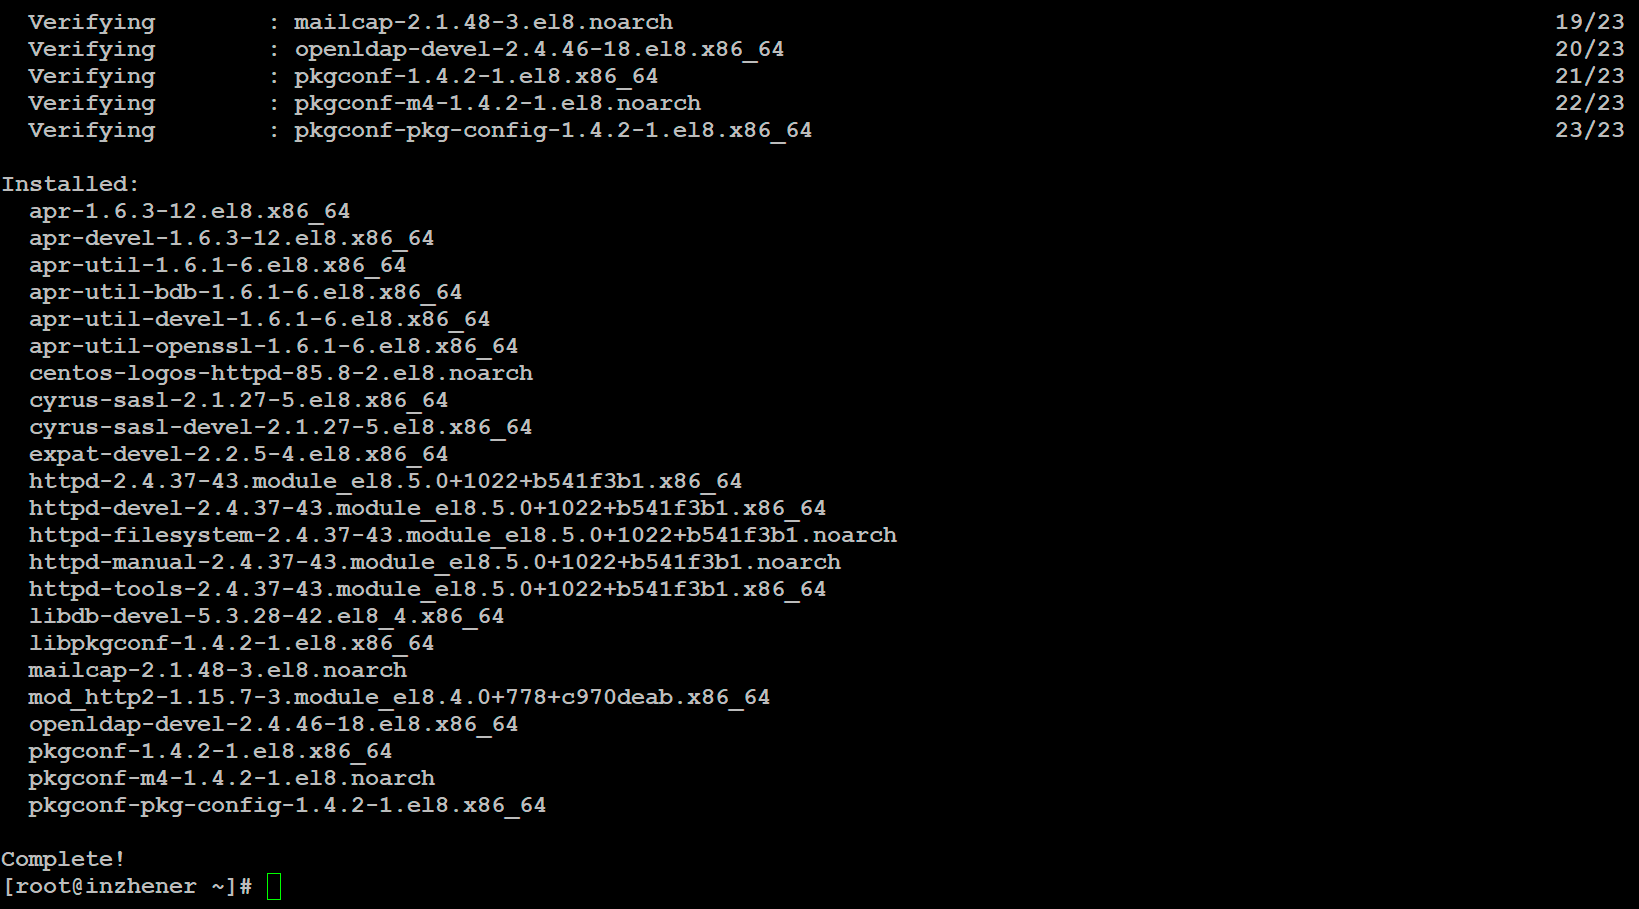
Apache itself is available by default in the CentOS software repositories and you can install it using the dnf package manager. Install the httpd package with the command:
$. sudo dnf install httpd
STEP 2. START THE APACHE SERVICE
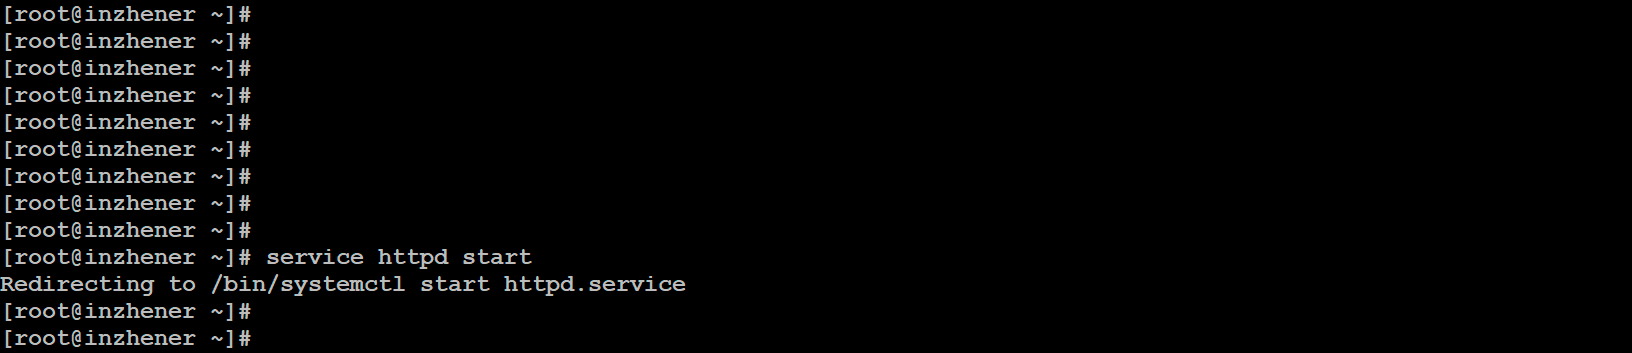
The Apache service is managed using the systemctl command or service. After installation is complete, use the service command to start the web server.
$. sudo service httpd start
STEP 3. AUTO START APACHE SERVICE
When you restart the Apache server, it won't start itself. In order for it to start itself, the Apache service must be set to auto start.
$. sudo systemctl enable httpd

STEP 4. FIREWALL SETUP
For the correct operation of the Apache web server, it is necessary to open ports or a service on the Firewall.
$. sudo firewall-cmd --zone=public --add-service=https --permanent

$. sudo firewall-cmd --zone=public --add-service=http --permanent
$. sudo firewall-cmd --reload
or
$. sudo firewall-cmd --zone=public --add-port=80/tcp --permanent

$. sudo firewall-cmd --zone=public --add-port=443/tcp --permanent
$. sudo firewall-cmd --reload

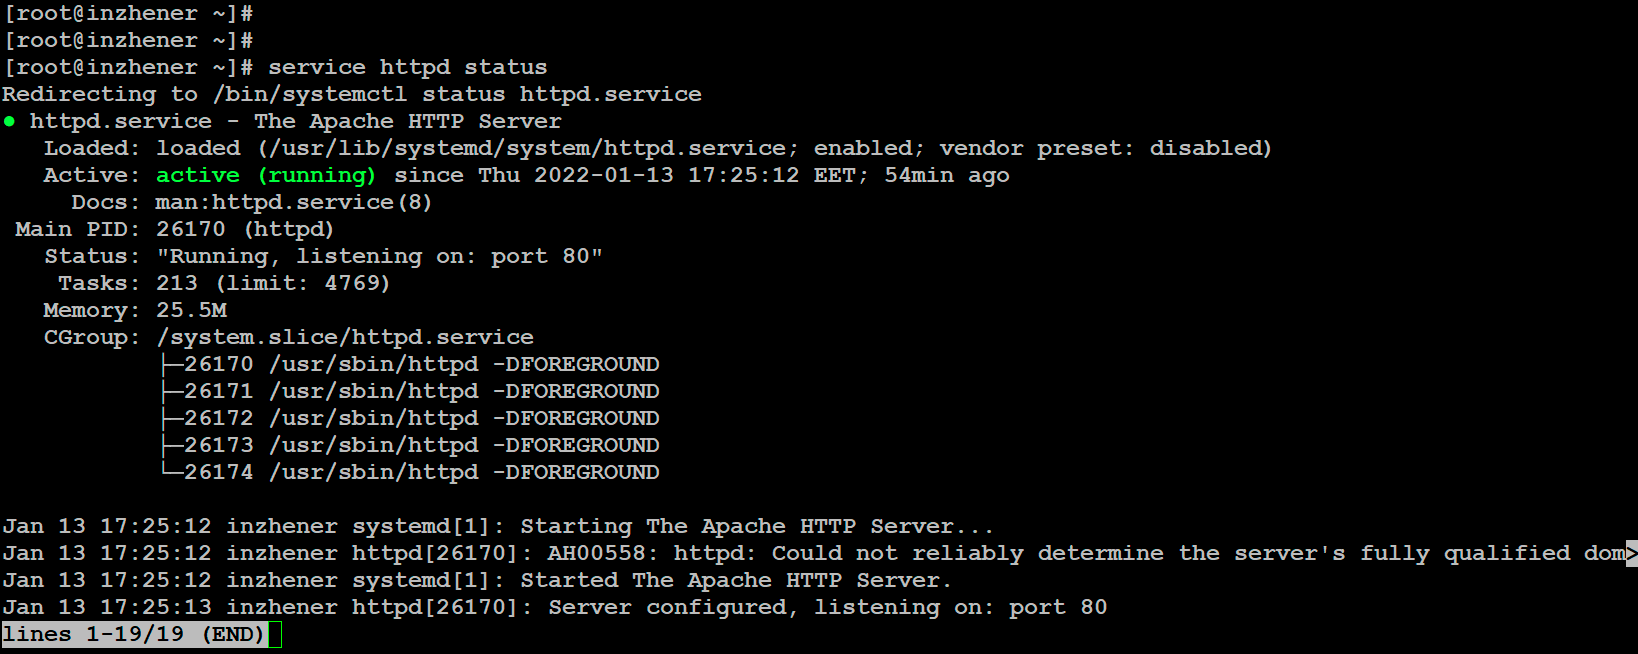
STEP 5. VERIFY APACHE IS WORKING
To test the web server, use the command:
$. sudo service httpd status
READY!
Thank you all, I hope my article was of some help to you.


